
Live Chat

Domain Scan

(empty)

Login
Migrate Your Website to Register.lk with No Downtime
(04-jul-2024)
Migrating your website to Register.lk ensures that you benefit from reliable hosting services, a free SSL certificate, expert support, and superior performance. Whether you're looking to improve your website's speed, enhance its security, or take advantage of our comprehensive hosting solutions, Register.lk makes the migration process seamless and efficient. In this guide, we will walk you through the essential steps to migrate your site to Register.lk with no downtime, ensuring a smooth transition that keeps your website live and accessible throughout. Follow these simple steps to ensure a hassle-free migration and enjoy the full benefits of hosting with Register.lk.
Follow these simple steps to ensure a smooth transition:
Why Update Nameservers Last?
When you update the nameservers, your domain starts pointing to our servers. If the backup isn't uploaded yet, your website will not be available, resulting in downtime. By ensuring the backup is in place first, you minimize any disruption, allowing your site to be live and accessible as soon as the DNS changes propagate.
If you have purchased the domain from Register.lk, you can follow the steps below to update your nameservers. If your domain is registered with another provider, you will need to contact them to update the nameservers for your domain.
Step 1: Purchase a Hosting Package with Register.lk
Before you begin the migration, you need a hosting package with us. If you already have one, you're set to go. If not, you can easily purchase a suitable hosting package from our hosting plans page.Step 2: Create a Full cPanel Backup
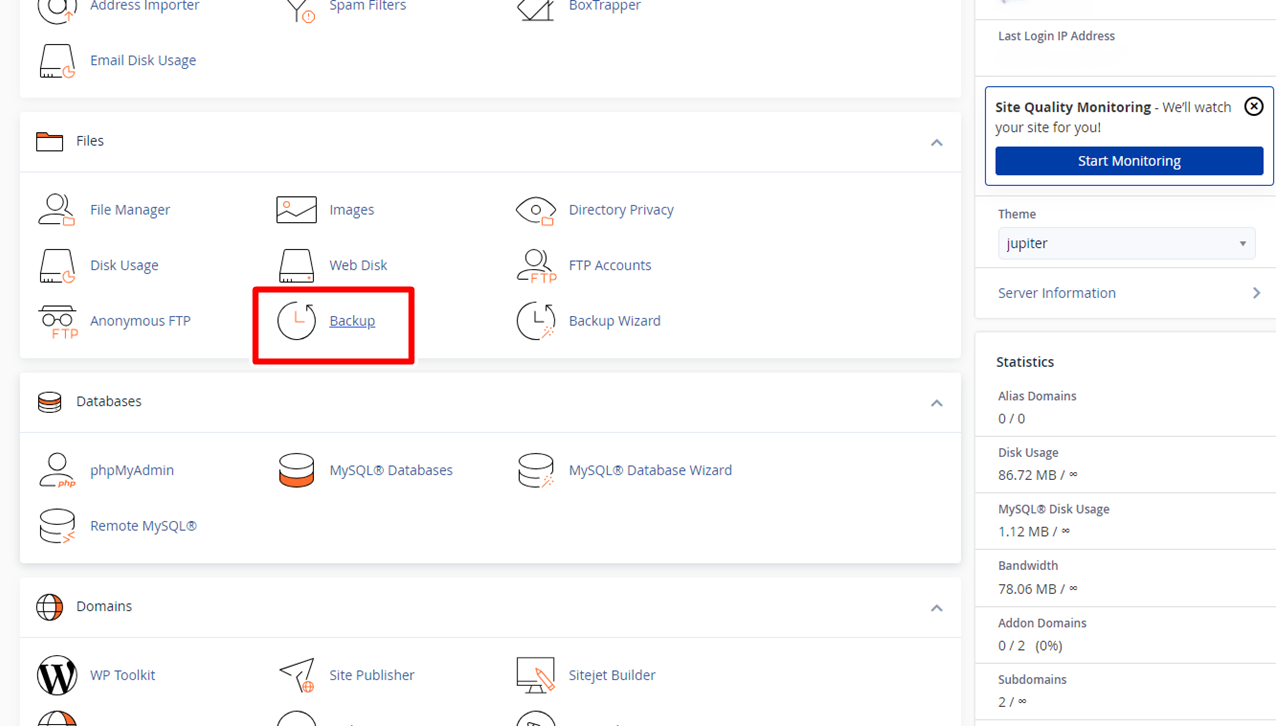
From your current hosting provider, create a full cPanel backup. This should include all your website files, databases, and emails. Here's how you can do it:- Log into your current hosting provider's cPanel.
- Go to the "Files" section. There you will be able to find the option "Backup".
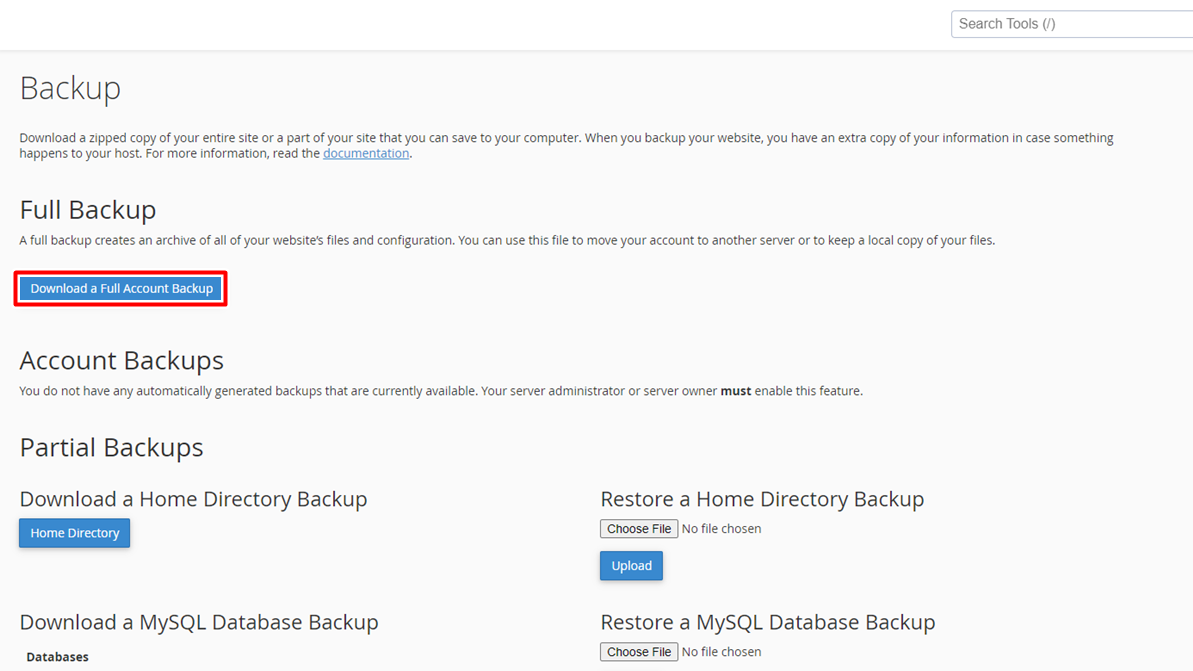
- Select "Download a Full Backup" and follow the prompts to generate and download the backup file.
Step 3: Upload the Backup to Register.lk's cPanel
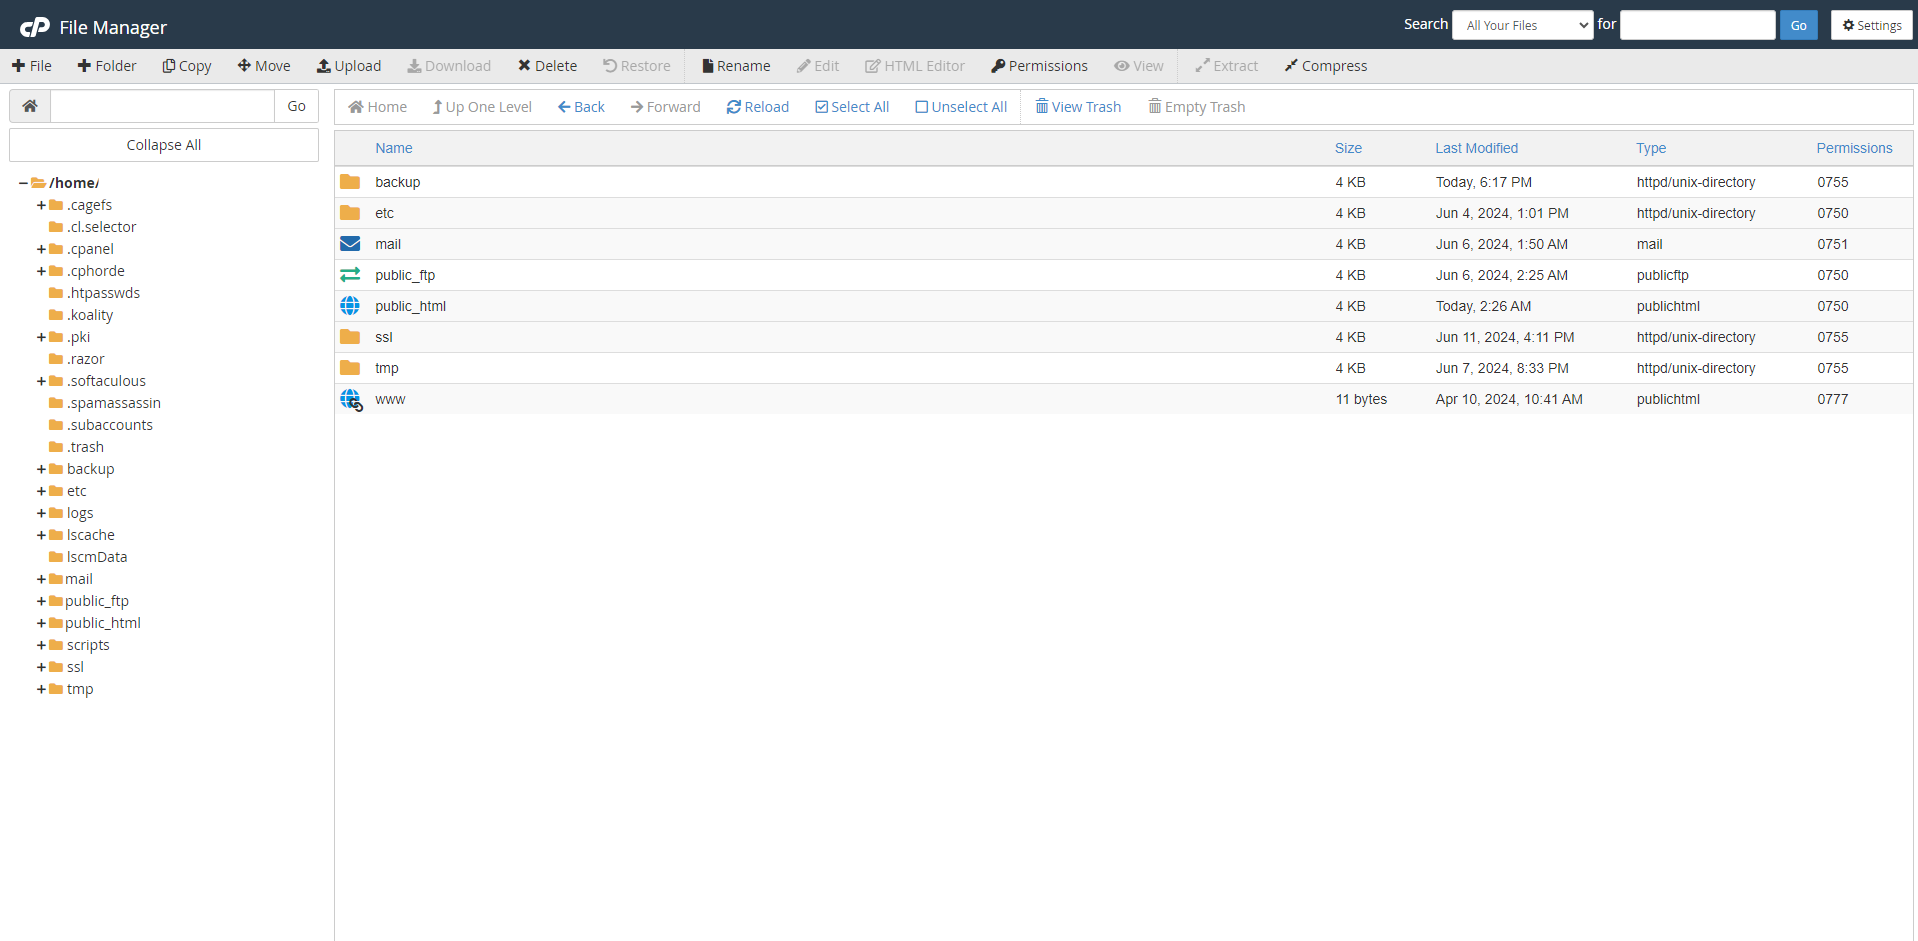
Now it's time to upload the backup to your new hosting account with us:- Log into your Register.lk cPanel. You can log in to the cPanel from your register.lk account or simply enter your domain '/cpanel' (yourdomain.com/cpanel).
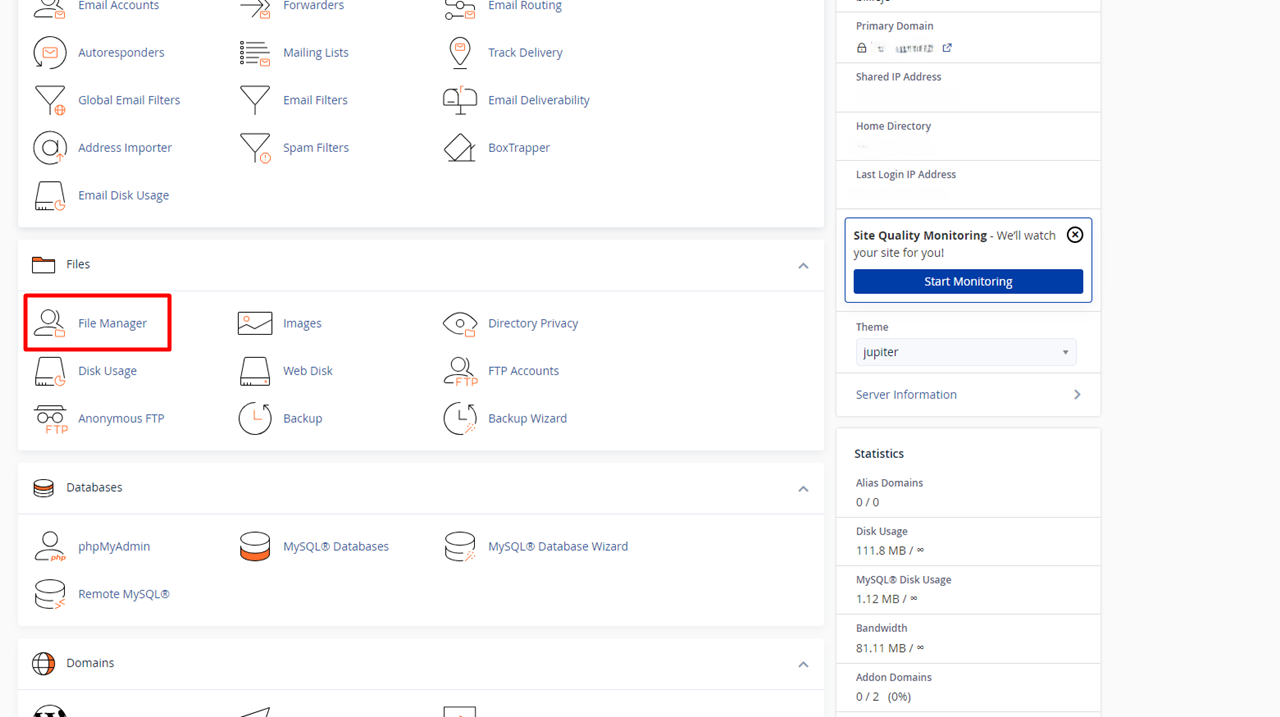
- Go to the "Files" section. There you will be able to find the "File Manager" click on it.
- Then the cPanel File Manager will open up on a new tab.
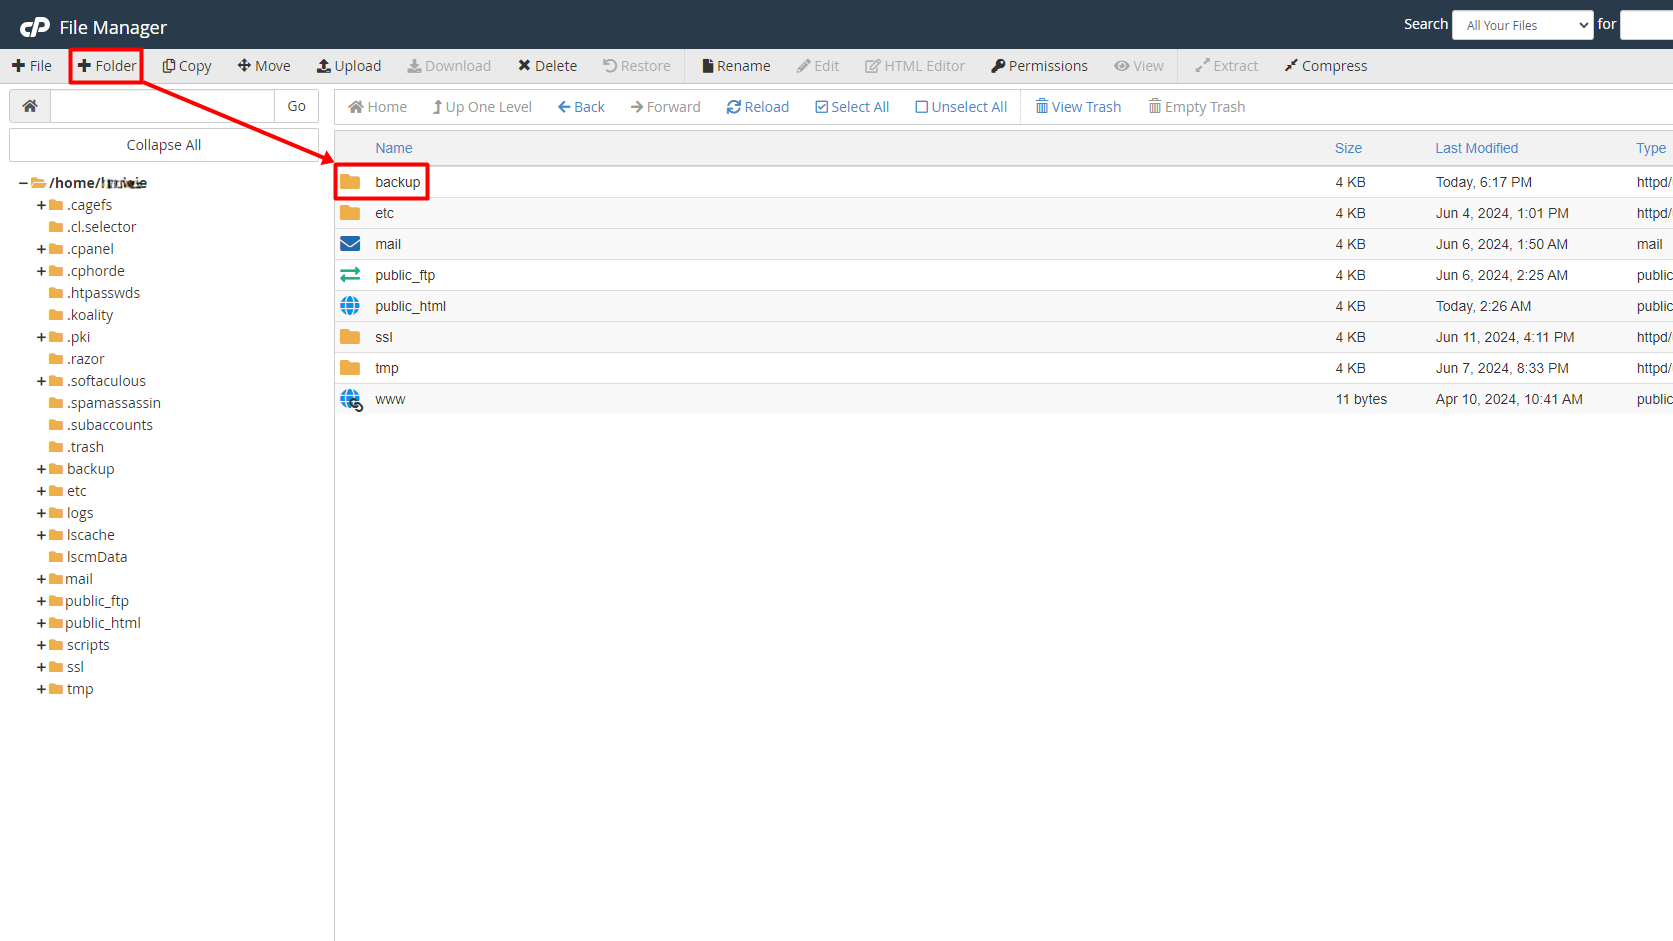
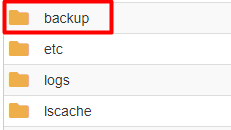
- Create a folder named backup and navigate to it.
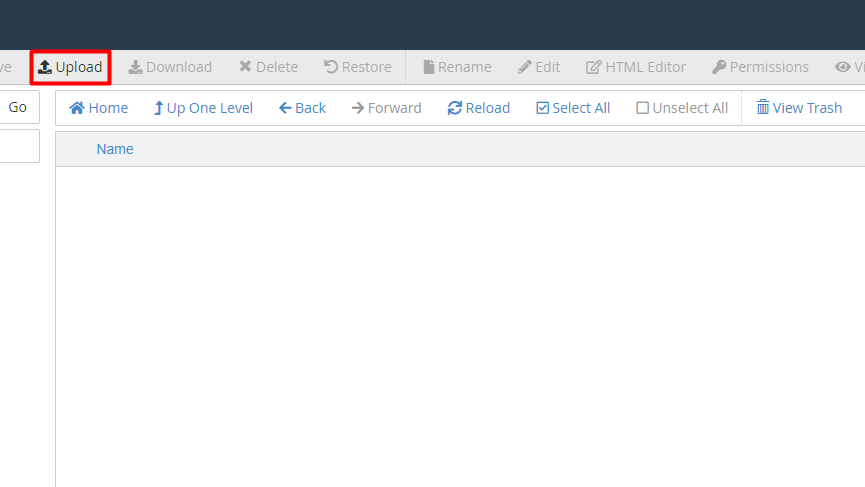
- Upload the compressed backup file inside the backup folder that you newly created.
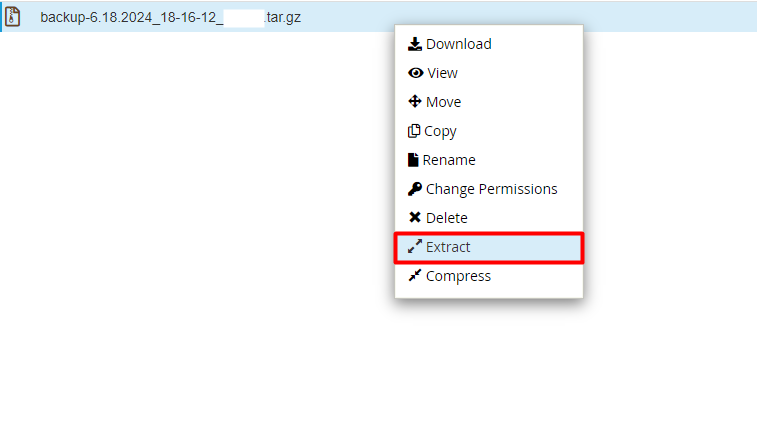
- Extract the uploaded backup file inside the backup folder.
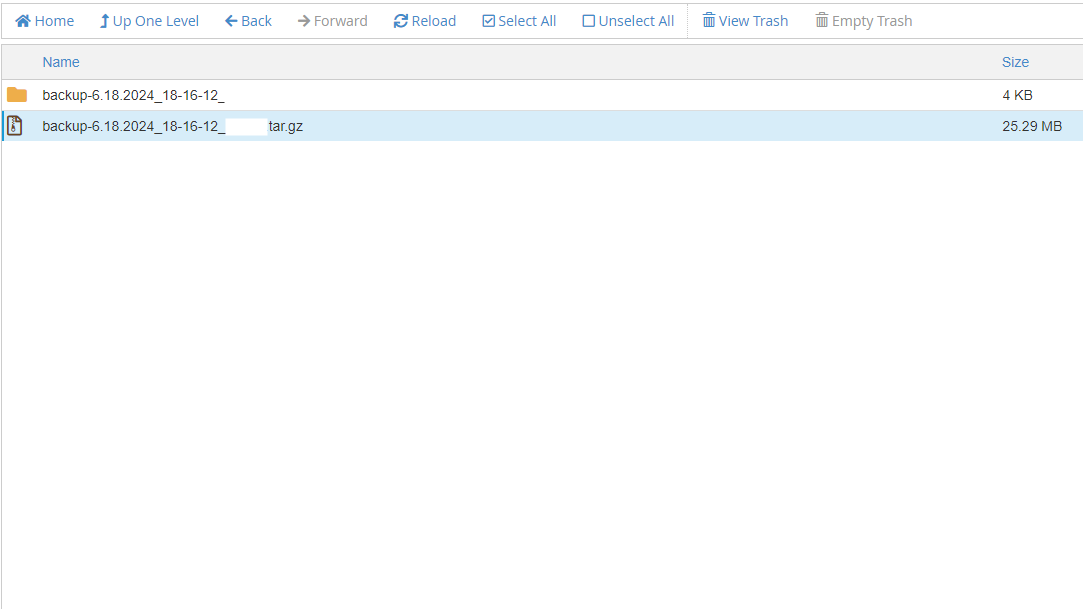
- Now you will be able to see the compressed backup file and the extracted backup folder.
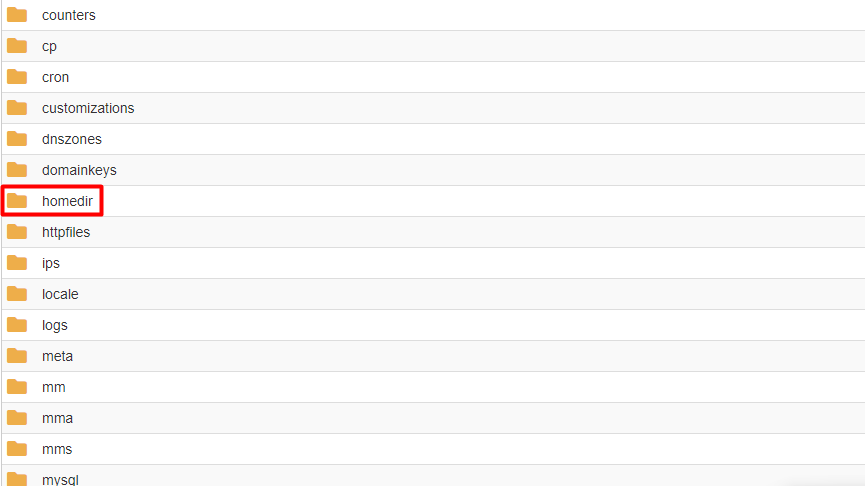
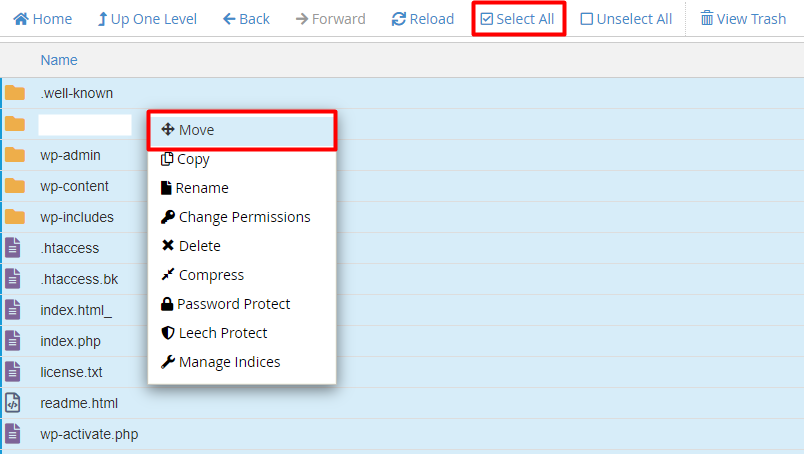
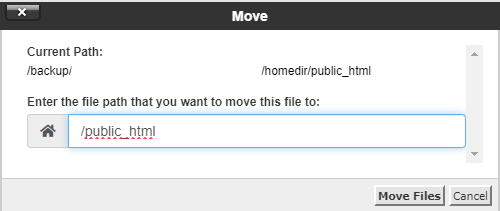
- Navigate to the .../homedir/public_html folder inside the extracted backup folder. Move the files inside the .../homedir/public_html folder to the /public_html folder in the current hosting cPanel.
- Check the correct destination and click on "Move Files".
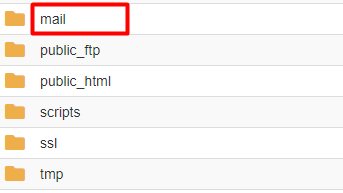
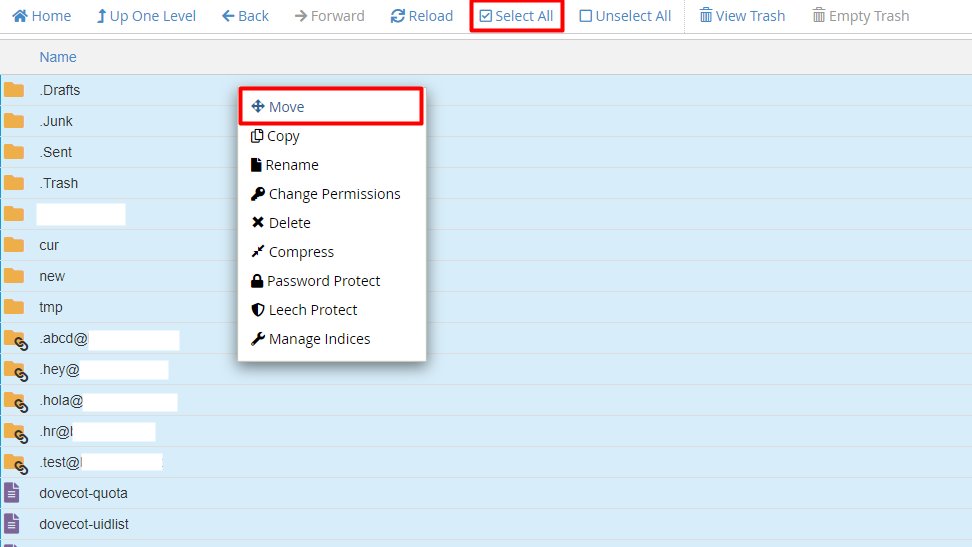
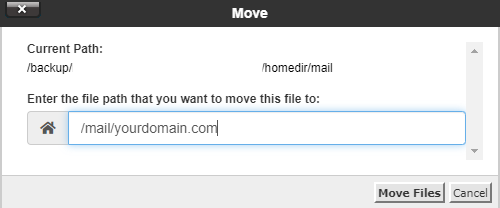
- Navigate to the .../homedir/mail/yourdomain.com folder and move the files inside the mail/yourdomain.com folder (You may Select All of the files and move them as you did previously) to the /mail/yourdomain.com folder in the current hosting cPanel.
- Navigate to the .../homedir/etc/yourdomain.com folder and move all the files inside to the /etc/yourdomain.com folder in the current hosting cPanel.
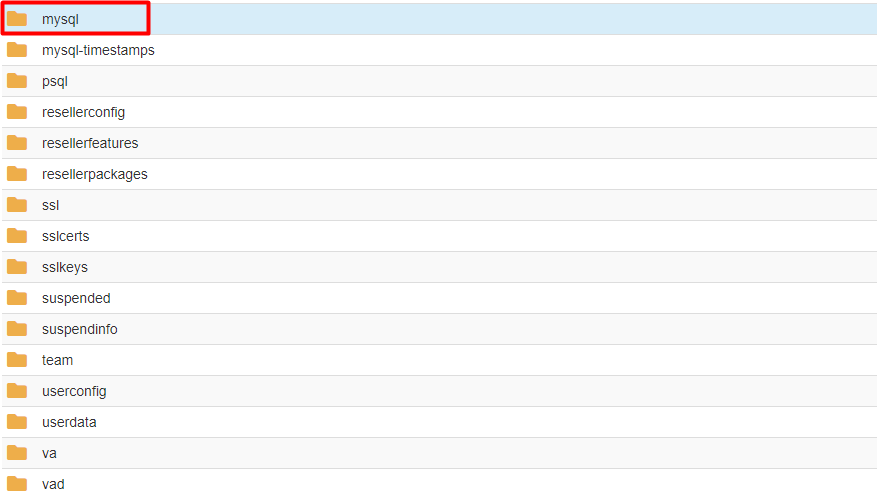
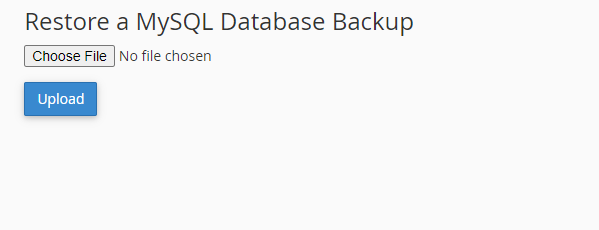
- Finally, navigate to the .../mysql folder and download the .sql file/s (database). Then go to the cPanel > Backup > Restore a MySQL Database Backup section and upload the downloaded .sql file/s.
- Go to the cPanel > MySQL Databases section and get the uploaded database name.
- Go to the cPanel > File Manager > public_html > wp_config.php file, open up the file in editor mode (Right click on the file and click on Edit). There you will be able to find the details of the databases.
- If the database name is different, replace it with the new database name. The Database name in the wp-config.php file and the database name in the MySQL Databases should be the same. If they are not, you may rename them.
- Get the database username and password from the file and create a database user in cPanel > MySQL Databases under Add New User (the database details in cPanel > MySQL Databases and the details of the relevant database in the wp-config.php file need to be similar).
- Then select the database and user under Add User to Database section and add user permission to the database.


Step 4: Update the Nameservers
The next step is to update your domain's nameservers to point to Register.lk. This is crucial for the propagation process.Why Update Nameservers Last?
When you update the nameservers, your domain starts pointing to our servers. If the backup isn't uploaded yet, your website will not be available, resulting in downtime. By ensuring the backup is in place first, you minimize any disruption, allowing your site to be live and accessible as soon as the DNS changes propagate.
If you have purchased the domain from Register.lk, you can follow the steps below to update your nameservers. If your domain is registered with another provider, you will need to contact them to update the nameservers for your domain.
- Log into your domain register.lk account.
- Click on "Domains" and "My Domains". Then click on the dropdown button in front of the domain that you want to update the nameservers.
- Click on "Use custom nameservers" and replace the existing nameservers with the ones provided by Register.lk for your hosting.
- Save the changes.


