Live Chat

Domain Scan

(empty)

Login
How To Get Started With Google Analytics On Your WordPress Site
(03-mar-2025)

If you're looking to track your website's traffic and gain valuable insights into your visitors' behavior, Site Kit by Google is one of the best tools you can use. This official plugin by Google seamlessly integrates Google Analytics with your WordPress website, providing in-depth data on how users interact with your content. From tracking page views and bounce rates to monitoring conversions and eCommerce performance, Site Kit delivers the essential analytics you need-all within a simple, user-friendly dashboard.
Whether you're a blogger, business owner, or marketer, understanding your website's performance is crucial for growth and success. With Site Kit, you can take your analytics game to the next level-without having to write a single line of code.
Why Use Site Kit by Google?
- Easy Google Analytics Integration: It connects your WordPress website to Google Analytics in just a few clicks.
- User-Friendly Reports: View detailed, yet easy-to-understand reports directly in your WordPress dashboard.
- Comprehensive Google Tools Integration: Site Kit integrates with not just Google Analytics but also Search Console, AdSense, PageSpeed Insights, and more.
- No Coding Required: Even if you're not familiar with code, you can set up and use Site Kit with ease.
Setting Up Your Host to Install Site Kit
Before installing Site Kit, it's essential to confirm that your hosting environment meets the necessary server specifications. Here's a summary of the key requirements:
- PHP Version: Site Kit requires PHP 7.4 or higher. Our hosting plans support PHP 8.4, offering improved performance and enhanced security for your website.
- MySQL Version: The plugin works with MySQL 5.6 or later, or MariaDB 10.1 and above. Our hosting packages are compatible with MySQL 8.0, ensuring efficient database management.
- HTTPS Support: For secure data transmission, an HTTPS connection is recommended. Our hosting services include a free SSL certificate, keeping your website and customer information safe. For further details, check out our guide: Register.lk's Free SSL for Unlimited Domains.
- Memory Limit: A minimum of 256 MB of PHP memory is advised for optimal performance. If you need to adjust your PHP memory limit, you can follow our step-by-step guide: Boost Your Website Performance with MultiPHP INI Editor.
Let's Install and Setup Site Kit
Step 1: Installing Site Kit Plugin
- Login to Your WordPress Admin Panel: Head over to your WordPress dashboard.
- Go to Plugins > Add New: In the left sidebar, hover over "Plugins" and click on "Add New"
- Search for Site Kit by Google: In the search bar, type "Site Kit by Google".
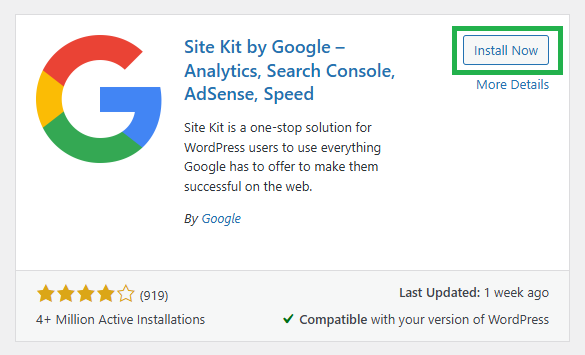
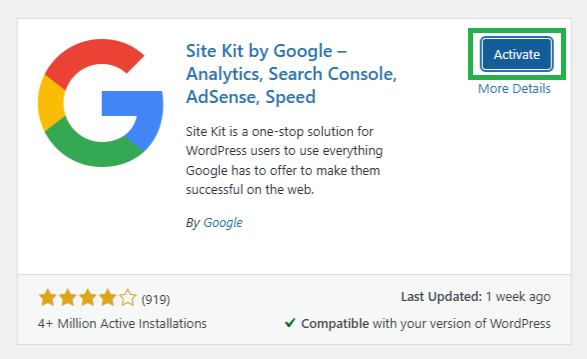
- Install and Activate: Click "Install Now" next to the Site Kit plugin. After installation, click "Activate" to add Site Kit to your website.

Step 2: Connect Site Kit to Google Analytics
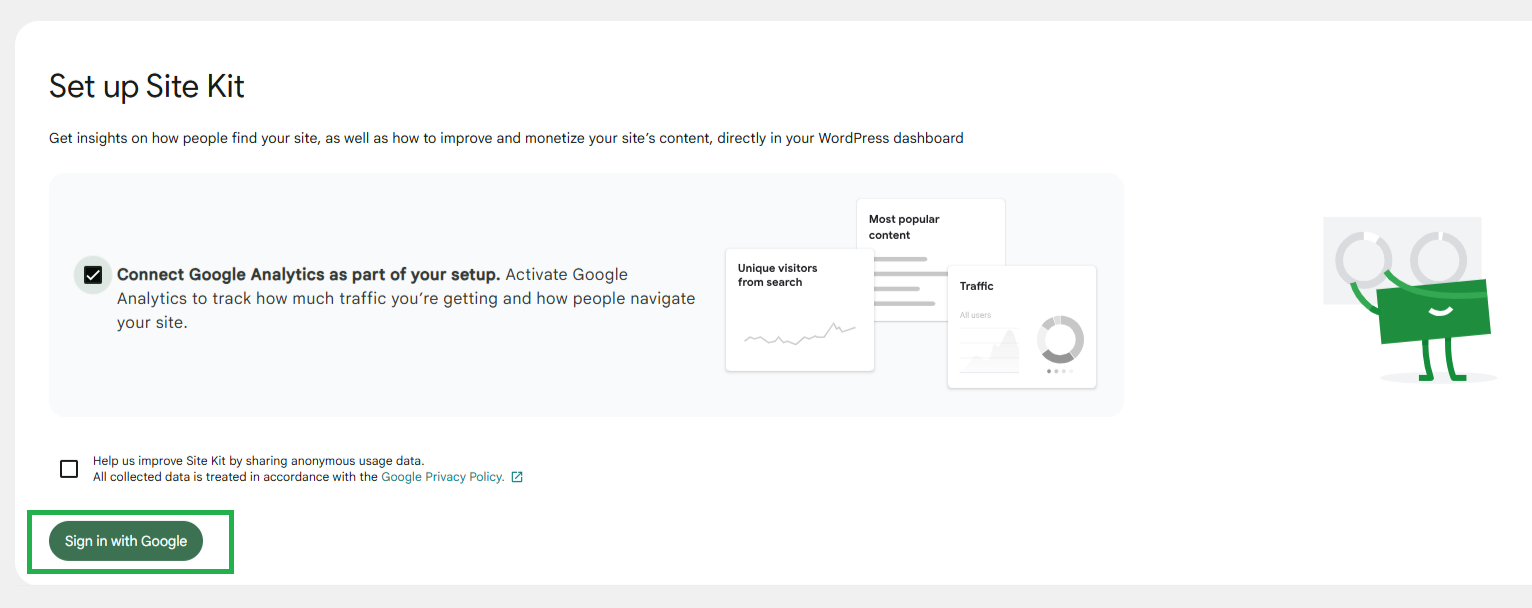
- Complete the Setup Wizard: Once activated, you'll see a prompt at the top of your WordPress dashboard. Click on "Start Setup" to start the setup process.
- Sign in to Google: Site Kit will prompt you to sign in with your Google account. Make sure to use the Google account associated with your Google Analytics and other Google services.
- Grant Permissions: Site Kit will request permission to access your Google services (Analytics, Search Console, etc.). Click "Allow" to grant the necessary permissions..
- Connect to Google Analytics: After signing in, select the Google Analytics account you want to link to your website.
- Finish the Setup: After selecting the correct profile, Site Kit will automatically configure itself and begin gathering data about your website visitors. Click "Save and Continue" to complete the setup.


Step 3: View Your Site Kit Report
Once Site Kit is connected to Google Analytics, you can view all your website analytics data and basic reports directly in your WordPress dashboard. To access your reports: Navigate to Site Kit > Dashboard
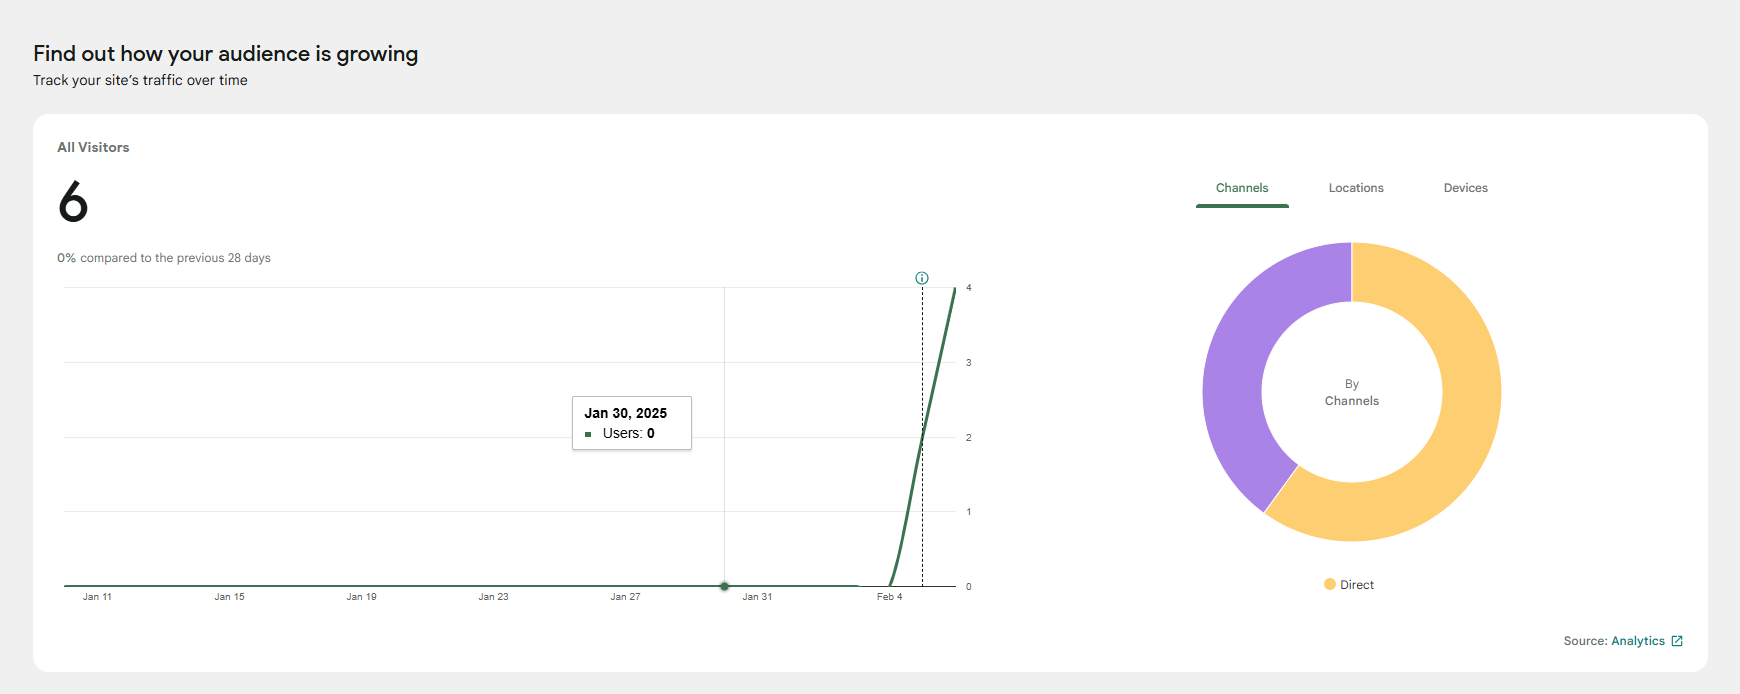

Now that Site Kit is connected to Google Analytics and other Google services, you can customize the plugin's settings to suit your needs. Here are some of the additional features and settings you can adjust:
- Set Up Enhanced eCommerce Tracking (Optional): If you run an eCommerce website, Site Kit allows you to integrate Google Analytics with your eCommerce store and track your sales, revenue, product performance, and more. To enable this feature:
- Go to Site Kit > Settings > Analytics.
- Enable Enhanced Measurements to start tracking your product performance and sales data in Google Analytics.
- Connect to Google Search Console: Google Search Console provides valuable insights into how your website performs in Google search results. Site Kit allows you to view this data directly in your WordPress dashboard. If you haven't connected Google Search Console yet, you can do so easily:
- Go to Site Kit > Settings > Search Console.
- Under the Search Console section, click Connect More Services and follow the prompts to link your Search Console account.
- View Google PageSpeed Insights Data: Site Kit allows you to monitor your website's performance with PageSpeed Insights directly within your WordPress dashboard. To enable this:
- Go to Site Kit > Settings.
- Under the PageSpeed Insights section, toggle the Enable PageSpeed Insights option.
- This will show you performance data like page load speed, mobile-friendliness, and recommendations for improving your website speed.
- AdSense Integration (If you use ads): If you are using Google AdSense to monetize your website, Site Kit allows you to track your earnings and other important metrics. To enable this integration:
- Go to Site Kit > Settings > Connect More Services.
- Under the AdSense section, connect your AdSense account.
- Once connected, you can view earnings, clicks, impressions, and other important AdSense data directly in the Site Kit dashboard.
To enable these features, go to Insights > Settings and select the tracking options you want to use.
Conclusion
In conclusion, integrating Site Kit by Google with your WordPress website is a game-changer for understanding your website's performance. With seamless Google Analytics integration, Site Kit provides easy-to-read reports and powerful tracking tools-no coding required. Whether you're starting a new website or managing an established one, Register.lk's reliable hosting combined with Site Kit gives you the perfect foundation to track, analyze, and grow your website.
Track smarter with Site Kit and grow faster with Register.lk
 Written by: Register.lk Support Hero - Yusuf


