


Live Chat

Domain Scan

(empty)

Login

WordPress Guide: What is WordPress Login Authentication and How to Remove It
(19-jun-2025)

If you've ever visited your WordPress admin page and been greeted with a popup asking for a username and password before even seeing the WordPress login screen, you're not alone. This extra layer is called WordPress Login Authentication-and while it serves an important purpose, there may be times when you want to remove it, especially during development or if it's unintentionally enabled.
In this guide, we'll explain what WordPress login authentication is, why it's used, and how you can safely remove it via cPanel.
What is WordPress Login Authentication?
WordPress login authentication-also known as HTTP authentication or directory-level password protection-is a security mechanism placed on top of your regular WordPress login. It requires a separate username and password before you can access the standard WordPress login page (/wp-login.php or /wp-admin).
This feature is commonly added through your hosting account (like cPanel) or via server rules in the .htaccess It's mainly used to:
- Block brute-force attacks on the login page
- Prevent bots or unauthorized users from reaching WordPress at all
- Add an extra layer of protection for sensitive admin areas
While it's great for security, it can also be a hurdle when trying to work on your site, especially for multiple users or developers accessing frequently.
How to Remove WordPress Login Authentication
If you're sure you no longer need this extra layer-or if it was added unintentionally-you can disable it by modifying your .htaccess file via cPanel.
Here's a step-by-step guide:
Step 1: Log in to cPanel
Visit yourdomain.com/cpanel and enter your credentials to access the cPanel dashboard.
Step 2: Access the File Manager
- In the Files section, click on File Manager
- Navigate to the
public_htmlfolder (or the directory where your WordPress is installed)
Step 3: Locate the .htaccess File
- Look for the file named
.htaccess - If you don't see it, make sure hidden files are visible by clicking Settings > Show Hidden Files (dotfiles)
Step 4: Edit the .htaccess File
- Right-click on .htaccess and choose Edit
- At the very top of the file, add the following lines:
#Disable WordPress authentication
Order allow,deny
Allow from all
Satisfy Any
- Click Save Changes and then close the editor
**Important Notice About .htaccess Access Rule
By adding the above code to your .htaccess file:
you are disabling authentication and allowing unrestricted public access to the directory. This means anyone can access the content, including areas that may otherwise be protected. This setting should only be used temporarily during development. For live websites, we strongly recommend removing this rule and enabling proper login authentication to protect your website and sensitive data. Please also ensure this code is not applied to directories like /wp-admin/, /wp-login.php/, or any other secure sections, as it can bypass access controls and lead to serious security risks. If you are unsure about this configuration, feel free to contact our support team for assistance.
Done! Authentication Prompt Removed
Once these changes are saved, the HTTP authentication prompt should no longer appear. You'll now be taken directly to the WordPress login page without the extra popup.
- Only remove this authentication if you're confident in your WordPress security setup.
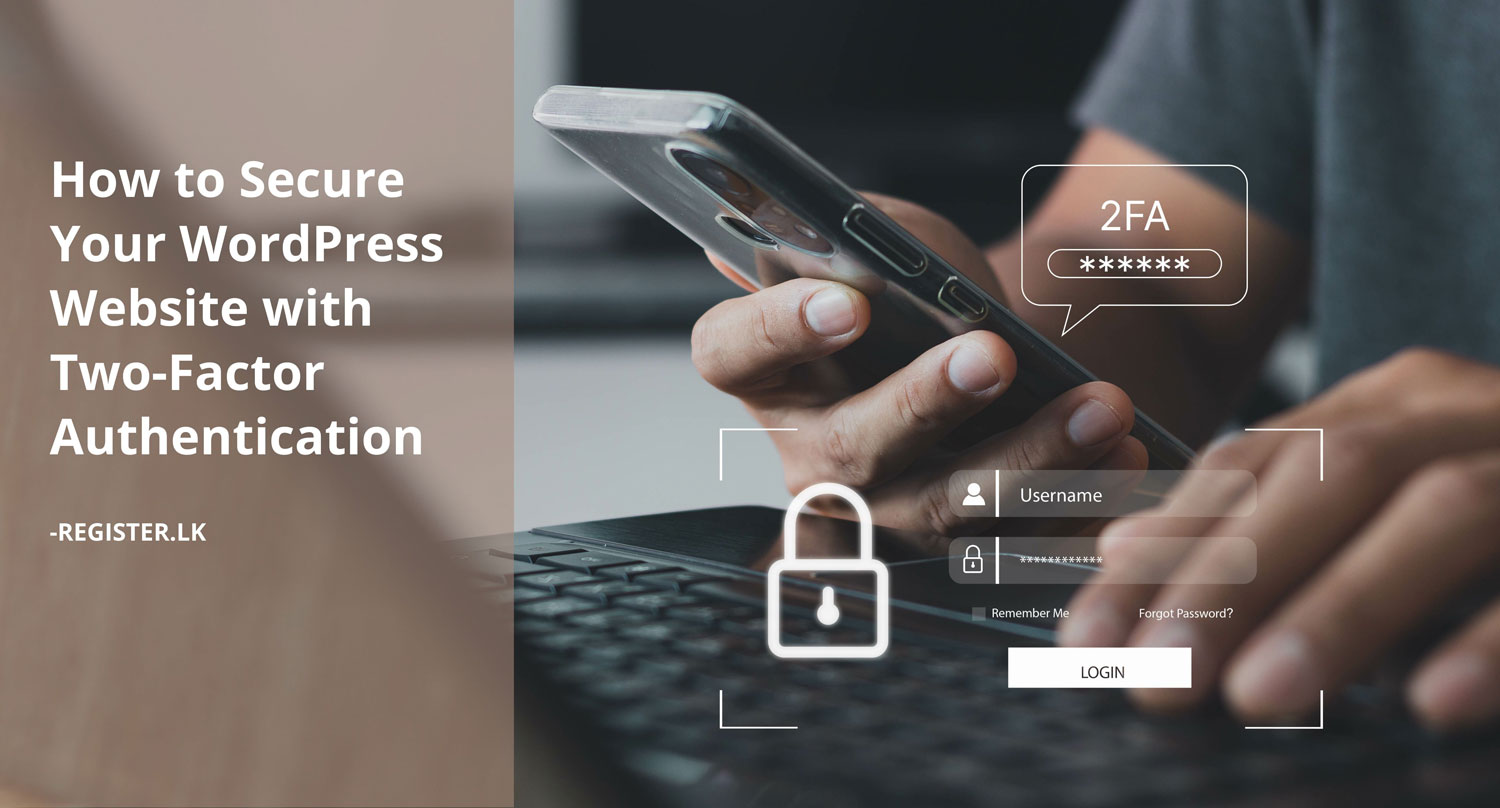
- Make sure you have a strong password and consider enabling tools like CAPTCHA or Two-Factor Authentication (2FA) to protect your login page.
Conclusion
WordPress Login Authentication serves as an extra lock on your website's front door, helping to shield it from attacks and unauthorized access. However, if it becomes unnecessary or a roadblock, removing it through the .htaccess file in cPanel is quick and easy. Just remember to balance convenience with security, especially on live websites.
Secure your WordPress site the right way - remove barriers when needed, but keep protection strong!
 Written by: Register.lk Support Hero - Yusuf


 28-May-2026
 26-May-2026
 05-May-2026

